Hiển thị các bài đăng có nhãn Tutorial. Hiển thị tất cả bài đăng

Thứ Tư, 4 tháng 5, 2011

Striped Prayer Shawl tutorial


Striped Prayer Shawl

Westport, CT

It's a very easy pattern that uses up odds and ends of yarn. I had about 450 g of yarn in total. I had more of the black (Color A) since it was used for the borders as well.
US Size 15 circular needle
With Color A (double stranded worsted weight BLACK), cast on 58 sts
Knit Garter Stitch border (knit every row) for 10 rows (5 ridges)
Switch to Color B (Homespun in charcoal gray) and knit in stockinette st for 8-10 rows
Switch to Color C (double stranded worsted weight gray mixtures) and knit in stockinette st for 8-10 rows
Continue in this pattern until shawl is approximately 5 feet from cast on edge.
Switch to Color A and knit Garter Stitch border (knit every row) for 10 rows (5 ridges). Bind off loosely.
Along side, pick up approximately 178 sts and knit Garter Stitch border (knit every row) for 10 rows (5 ridges). Bind off loosely.
Repeat side Garter Stitch border for other side.
Weave in all loose ends.

Free Pattern - Hand Knit Miniature Stocking Ornament.


It's the middle of November and that means everyone is franctically looking around for a free knitting pattern and quick knit ideas for the holiday.  Here's my holiday gift to you - a free pattern for a miniature Christmas stocking.  I hope you like it. 
Miniature_stocking_ornament
Here's the free pattern.

Thứ Tư, 30 tháng 3, 2011

Spiceberry Ruffles Scarflet turorial


This is a cute scarflet and not difficult to make at all. You can make it in two sittings. This is a specially fun scarflet for a young woman or a teen.

Materials:Red Heart worsted weight yarn Claret
Red Heart worsted weight yarn Candy Print (variagated)
Crochet hook size H
Scissors
Blunt needle to weave ends
Measuring tape

Rosettes- (Make 2) With Claret, ch 2. Rnd 1- Make 6 sc in 2nd ch from hook, slip st to join rnd. Rnd 2- 2 sc in each sc around.

Thứ Hai, 28 tháng 3, 2011

How to make a Felt Brooch


This is a brooch tutorial made using felt with no sewing required.
It is easy and fun to make and is suitable for kids craft project too!

The step by step instructions will be written below the pictures, just match up the numbers to understand. You can also enlarge an image by clicking on it, have fun!


Materials :

Fabric Corsage tutorial

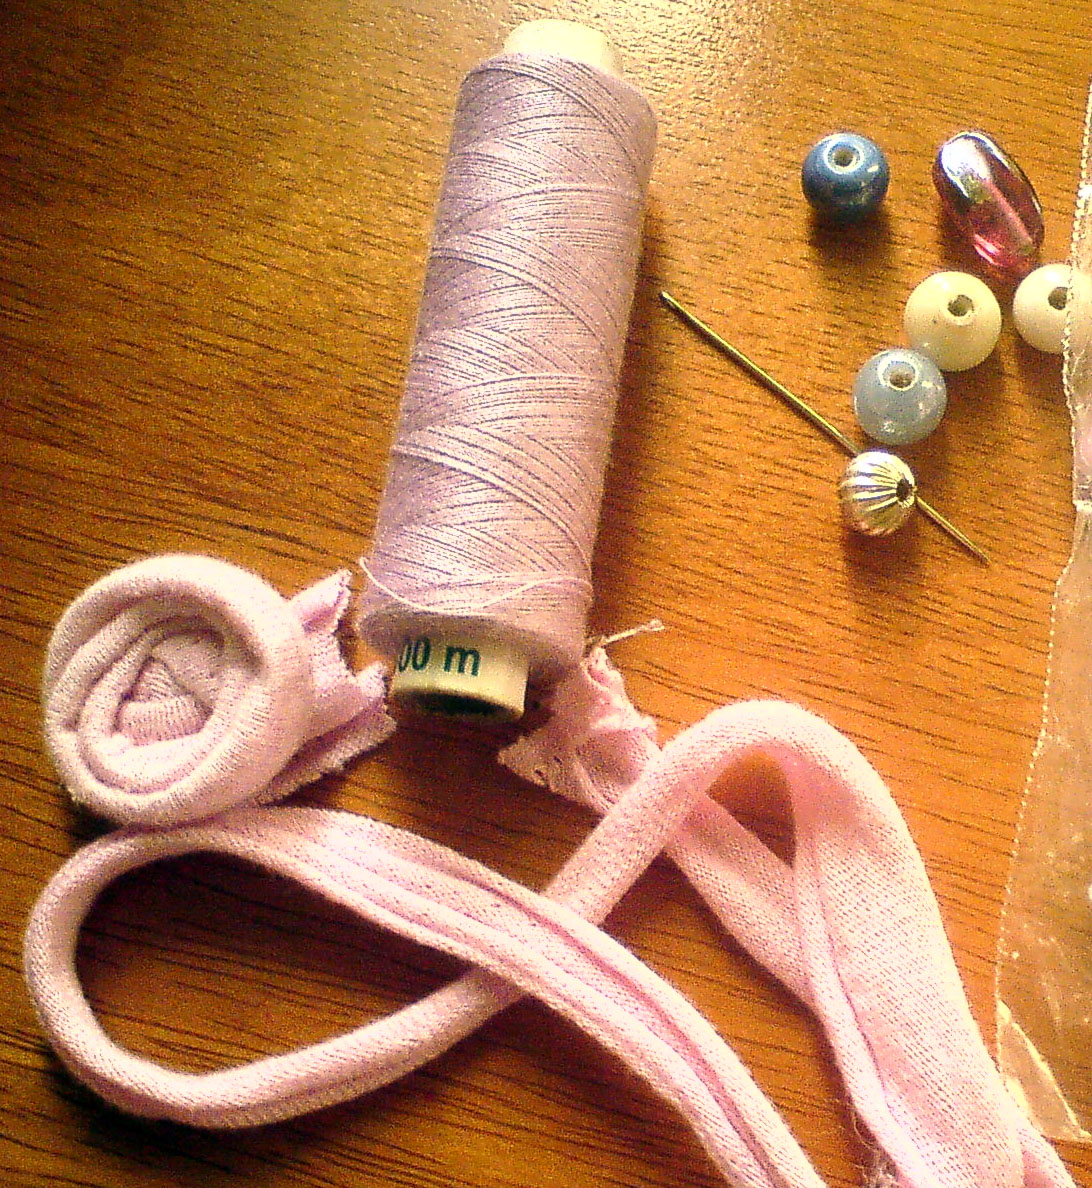
People seem to like my fabric corsages so here is another one of them. This project is ideal if you have loads of little scraps or Chindis of fabrics and some time in your hands.It might not be as grand as required for prom but it would definitely make a quick and quirky gift for your girls.
Materials Required
- Fabric scraps ( I have used 4 different fabrics in blue and green)
- A center bead or pearl
- 2 silver end beads and 2 daisy or triangular spacers
- Satin ribbon - two 6" pieces
- Scissors, matching thread and needle

Valentine corsage bracelet: How to


Rose Day which begins the official valentine week is here. So If you are somebody who is into celebrating this holiday, you will need lots of ideas for new gifts (to your BFFs). So here is an idea that will make cool (Thrifty) Valentine week BFF corsage that you and your BFFs can wear to show your solidarity and friendship.     


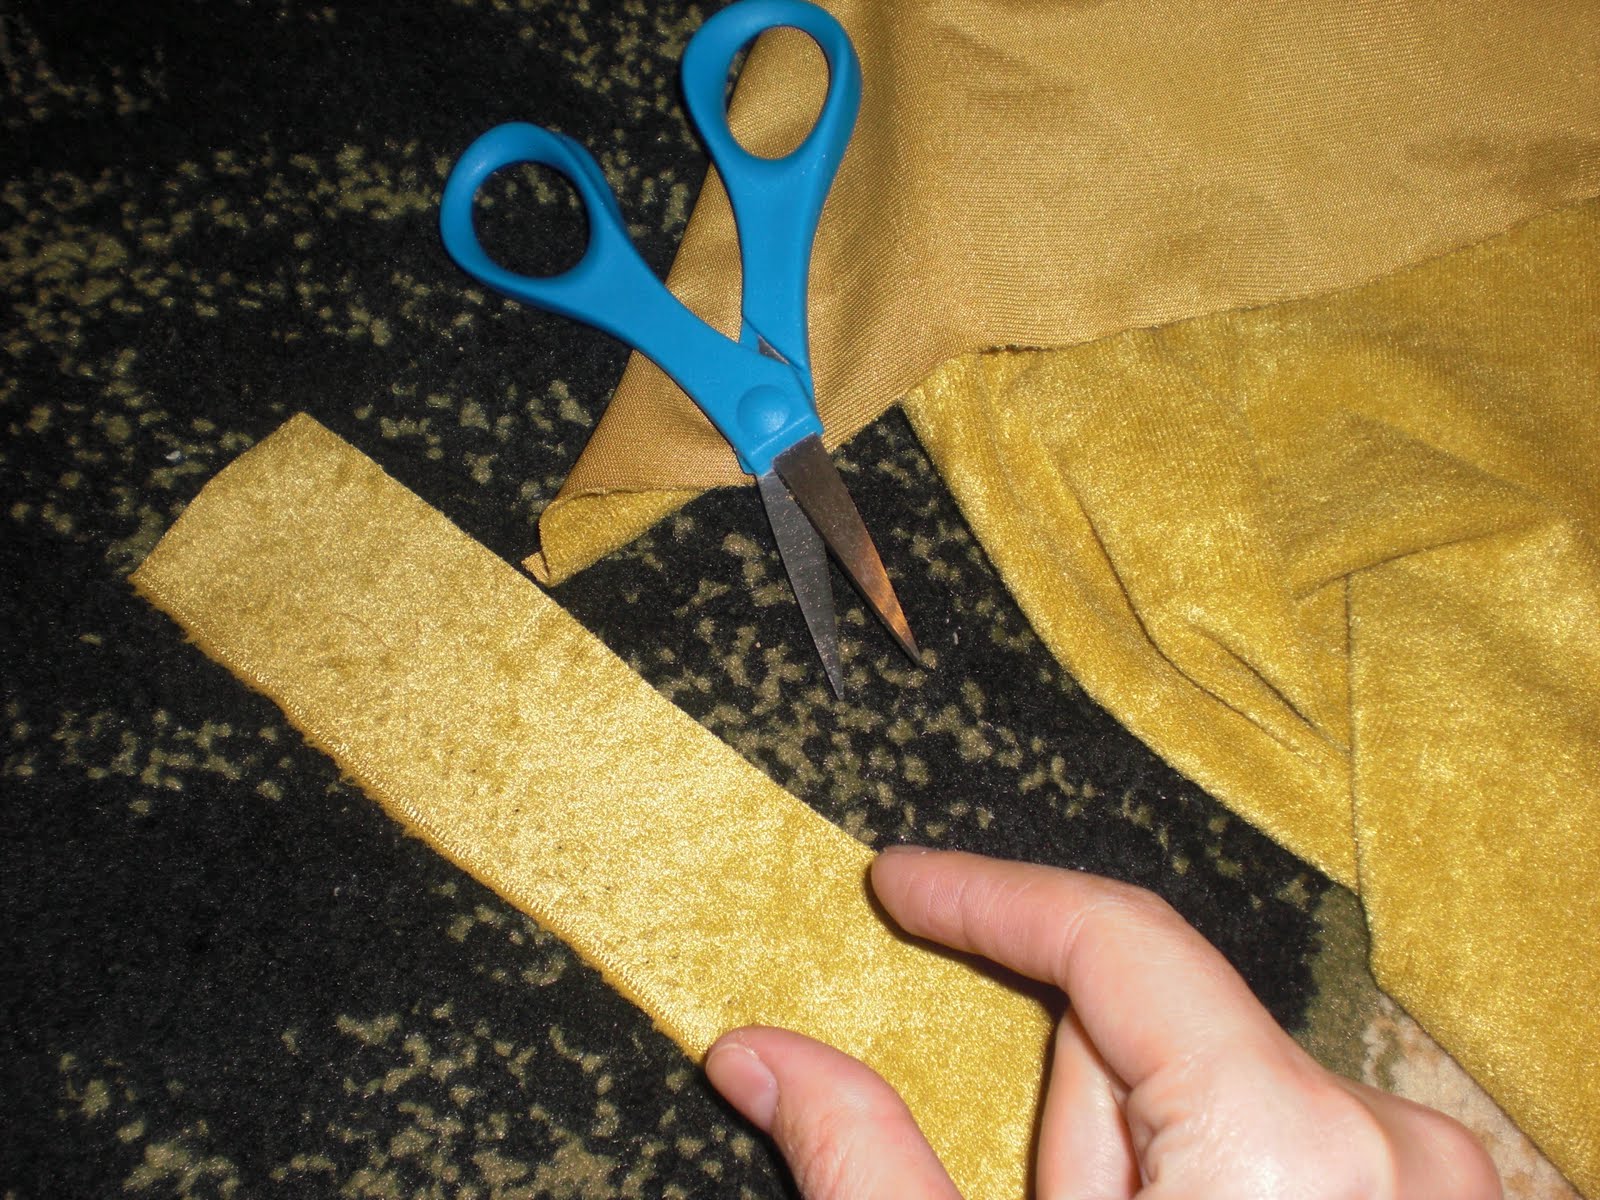
Materials:Remember from pink cami from the last post.The strap area remained unused at the end so I am utilizing those little pieces to make this corsage bracelet. You can use any knit corsage. The rosettes are made from the armhole bindings and the strap is the shoulder portion. you can also use a 1" satin tape or twill tape for the base.
(Compliments to self : great idea to use all leftover pieces from so many UFOs lying around the house)
- some spare beads or pearls
-a small square (3X3) of silver gauze/lace or tulle
- hand needle and matching thread/ Scissors

Tutorial: a big pin for our scarves

A big pin can be also used as a brooche to pin a fabric scarf or a foulard...


What do you think about this idea? Isn't it cute?


If so, please, follow me and I'll show you how to make it!!!!!
First of all, find in your kitchen a round rubber for 6 cups moka and a bamboo spit.

How to renew old cadigan

This project from start to finish took 30 minutes!


Infinity Scarf Pattern tutorial


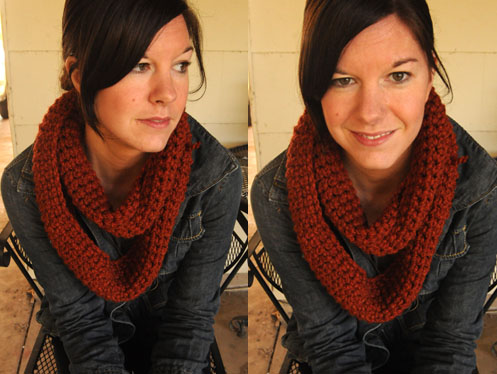
So here it is my first crochet pattern for the uber simple infinity scarf. I made mine in a little over an hour. It's great if you are just starting out working in rounds or if you want to go ahead and give rounds a try.


Yarn: 1 skein of Lion Bran Woolease Thick & Quick (Shown in Spice)

Hook Size: N
Other Materials: Yarn Needle to weave ends
                          Stitch Marker

Row 1: Chain 100, join with slip stitch. Try super hard not to twist your chain.
Row 2: Ch1, sc 100.
Row 3-10: Repeat Row 2. Fasten off and weave in you ends.

You'll have just a bit of yarn leftover and a big chunky infinity scarf.

But Brooke, What if I want a super extra chunky infinite scarf?

Thứ Năm, 24 tháng 3, 2011

Tutorial: Coffee Break Wristers


To make the Coffee Break Wristers©:
(Make two)
Worsted weight yarn
#5 (US) double-pointed needles.
CO 40 stitches.
K2, P2 for 18 rounds.
On next round, BO 14 stitches for insert pocket, continue in established ribbing to end of round.
On next round, CO 14stitches in ribbing pattern, contiue in established ribbing to end of round.
K2, P2, for five more round.
BO in ribbing.
Turn wrister inside-out.
At the edge where you CO, pick up 14 stitches and follow ribbing pattern for 16 rows.
BO in ribbing.
Cut yarn.

Tutorial: some stitch pattern training

A colleague and I got chatting about alpaca jumpers. He told me that his white alpaca jumper always gets strange stains that seem to come out of nowhere and that another of his has got moth holes. I love alpaca and therefore, because you can’t let things go to waste, I offered to mend it. So he brought it in. I noticed it was a kind of Brioche stitch and said it would be difficult but doable. Sometimes I really don’t know what I’m letting myself in for. When I had a closer look at home I noticed it was some sort of honeycomb brioche (well, so I thought). I think I last knitted a brioche stitch more than 20 years ago and certainly not a complicated one like this. I wasn’t prepared to flaunt it, so I decided I had to undergo some training.  I first looked up the stitch pattern and did a little swatch, which wasn’t too painful, but wasn’t enough for me to really understand the pattern. I had to do something bigger.

How to make a fabric flower and a flower tutorial round up

 Thanks to all of you who have joined us all week for Flower Week! We had several other great flower ideas on our list, so we'll have to have a "part two" sometime soon. To end our week, here is one more cool flower we made and a bunch of other fabulous flower tutorials that we found out in blogland. Enjoy!


This fabric flower was made in a similar fashion as our ribbon flowers. We started with a 20-inch by 4-inch piece of fabric and folded it in half lengthwise. Then we sewed down the side to make it like a long piece of ribbon. We proceeded with the ribbon flower tutorial, pulling the strings to bunch it up a bit. After that, we rolled it, starting with one end as the flower center and wrapping the other end around until it was full enough. You can cut off the end if you have too much left and want a less-full flower. Then we stitched a few stitches through the layers on the bottom until it was secure. That's it! Sorry for the lack of photos--this was made and sent off to my sister a while ago. These are great as pins--just sew or glue a brooch pin to the back. This one was to pin on a nursing cover, but they'd also be cute on a bag.

Thứ Ba, 15 tháng 3, 2011

Tutorial: Crochet Shell Stitch Go Shell Crazy.


Crochet Shell Stitch patt 1 Curious how to crochet shell stitch? Well - I'll tell you all about it. A shell in crochet is basically just a group of stitches worked into one base stitch. See the granny square for an example of a 3 stitch shell, though the granny square stitches are worked into the chain space rather than 1 stitch.

You most often use shells in combination with other crochet stitches to form a more advanced pattern. Shells are usually made up of 3 or more longer length stitches, like double crochet or trebles.

You can also use crochet shell stitch to form a scallop edging. This is a very pretty way to 'fancy up' a project that might otherwise look a little plain.

I worked the above sample using chain and double crochet.

This first option for crochet shell stitch would make a really nice lacy scarf in a glittery yarn or even a soft alpaca for totally different looks.

Try this pattern shown in the picture above...

Thứ Sáu, 18 tháng 2, 2011

Tig isi fistikli sal yapimi

https://blogger.googleusercontent.com/img/b/R29vZ2xl/AVvXsEgZdc9gbDL3Zo_YJLr11DhvnIcJtkDWPDiVT-7nL0tkZImfOcwnD4eJ1E0corN2ireBlMyz8Ut0dEwkrcnY52azOnkjegn0PbfqCuhFf2jpLGsjnMBiEE3Ay0zngyDLIwPTod2CDV9rDwH4/s1600/makhina+%C5%9Fall.jpg
1. work 16 chains, then on those chains make 2 rows of 4 boxes as shown on the pictures. (interpreters comment: a box is made of 2 chains and a dtr)

Filet Crochet - White Mesh Vest


I actually worked this pattern thrice - in different colors. Some have asked me for the pattern several times (I don't mind sharing, bcoz I would never have this Jacket if Vrinda aunty had not shared this with me) but unfortunately, this one's a kind of crochet where you need to go by the instructions down to the T.

Unlike the Catherine Wheel pattern which had just 5 rows of instructions, in this one, each row is unique and the instructions are quite lengthy. That's when I created the below graph to make it simpler.

Graph: